How to Deploy a Harbor Container Registry on Akamai Cloud (Linode)
Because Akamai Cloud (Linode) does not offer a managed container registry service, Harbor is the perfect open-source alternative to host your own.

Introduction
Akamai Cloud (Linode) does not offer a proprietary, managed container registry service like AWS (Elastic Container Registry) or Google Cloud (Artifact Registry). I recently encountered this limitation while dealing with an Ateme Titan File installation on Akamai’s Linode Kubernetes Engine (LKE).
Harbor
Harbor is a CNCF-graduated project that provides a robust open-source option for hosting a container registry. It offers comprehensive features such as role-based access control (RBAC), vulnerability scanning and image signing.

Below, I am sharing the instructions to set up a Harbor registry on Linode to manage your container images.
Instructions
Login to cloud.linode.com
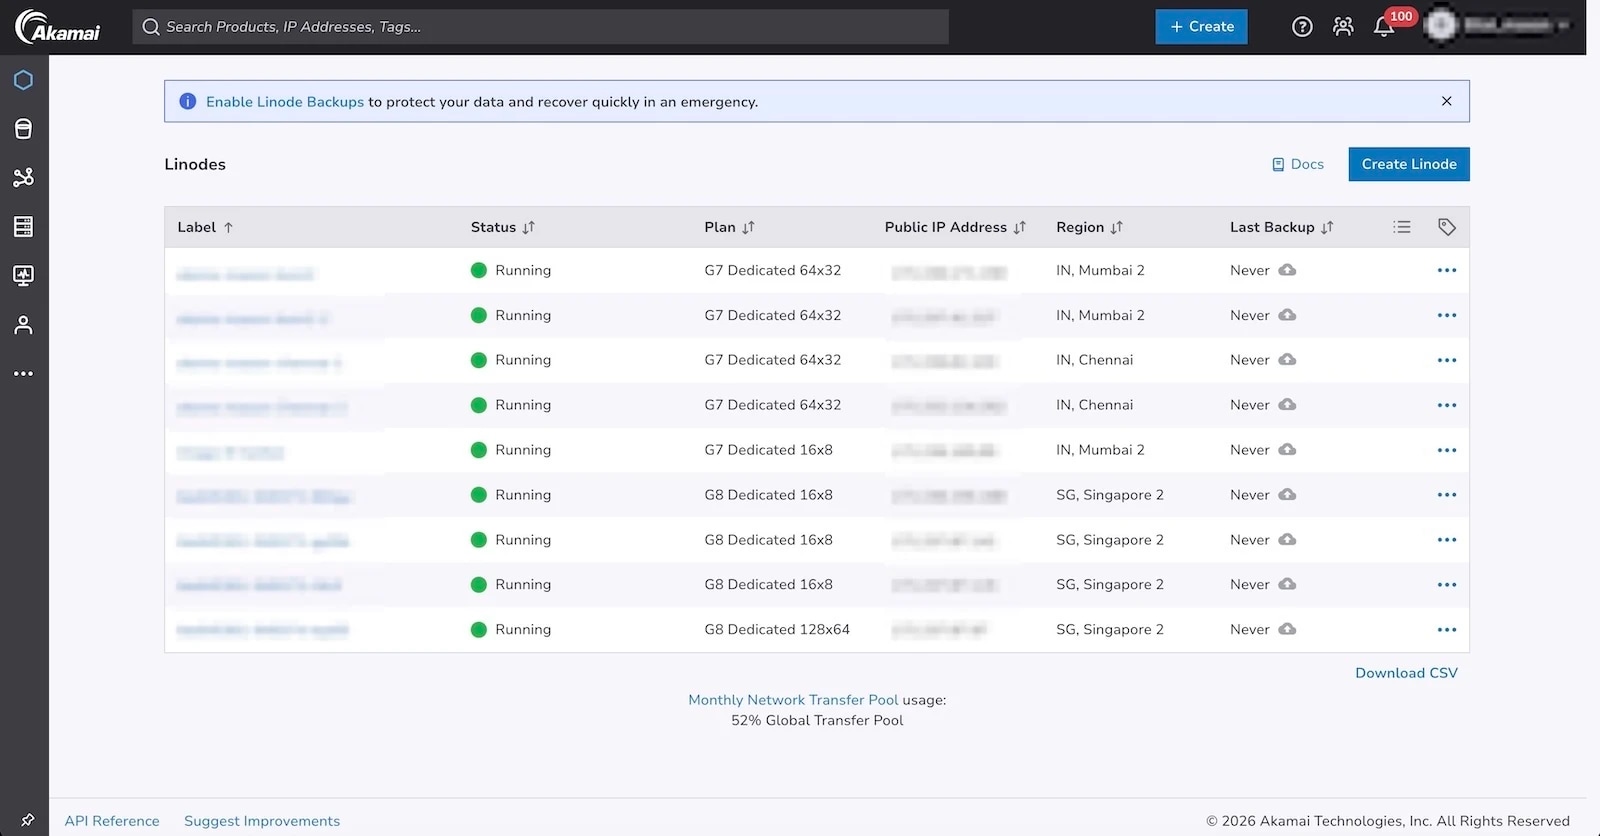
Create a VM, selecting your desired instance type and location. For this tutorial, I used the following configuration:
- Location: Mumbai 2
- OS: Ubuntu
- Machine Type: G7 Dedicated 16x8
Log in to your new instance via SSH and run the following commands to update the system and install Docker:
sudo apt-get update
sudo apt-get install ca-certificates curl gnupg

sudo install -m 0755 -d /etc/apt/keyrings
curl -fsSL https://download.docker.com/linux/ubuntu/gpg | sudo gpg --dearmor -o /etc/apt/keyrings/docker.gpg
sudo chmod a+r /etc/apt/keyrings/docker.gpg

echo \
  "deb [arch=$(dpkg --print-architecture) signed-by=/etc/apt/keyrings/docker.gpg] https://download.docker.com/linux/ubuntu \
  $(. /etc/os-release && echo "$VERSION_CODENAME") stable" | \
  sudo tee /etc/apt/sources.list.d/docker.list > /dev/null

sudo apt-get update
sudo apt-get install docker-ce docker-ce-cli containerd.io docker-buildx-plugin docker-compose-plugin

sudo docker --version
docker compose version
# Docker version 29.7.2, build a7dcaa6
# Docker Compose version v5.5.0
Verify that the Docker daemon is active and running:
sudo systemctl status docker

# ● docker.service - Docker Application Container Engine
#     Loaded: loaded (/usr/lib/systemd/system/docker.service; enabled; preset: enabled)
#     Active: active (running) since Tue 2026-08-25 17:06:41 UTC; 45s ago
# TriggeredBy: ● docker.socket
#        Docs: https://docs.docker.com
#    Main PID: 2349 (dockerd)
#       Tasks: 13
#      Memory: 28.5M (peak: 30.3M)
#         CPU: 498ms
#      CGroup: /system.slice/docker.service
#              └─2349 /usr/bin/dockerd -H fd:// --containerd=/run/containerd/containerd.sock

# Aug 25 17:06:40 localhost dockerd[2349]: time="2026-08-25T17:06:40.863738119Z" level=info msg="Restoring containers: start."
# Aug 25 17:06:40 localhost dockerd[2349]: time="2026-08-25T17:06:40.891795185Z" level=info msg="Deleting nftables IPv4 rules" error="running nft: /dev/stdin:1:17-30: Err>
# Aug 25 17:06:40 localhost dockerd[2349]: time="2026-08-25T17:06:40.905299087Z" level=info msg="Deleting nftables IPv6 rules" error="running nft: /dev/stdin:1:18-31: Err>
# Aug 25 17:06:41 localhost dockerd[2349]: time="2026-08-25T17:06:41.209707325Z" level=info msg="Loading containers: done."
# Aug 25 17:06:41 localhost dockerd[2349]: time="2026-08-25T17:06:41.218486823Z" level=info msg="Docker daemon" commit=6a43e3d containerd-snapshotter=true storage-driver=>
# Aug 25 17:06:41 localhost dockerd[2349]: time="2026-08-25T17:06:41.218603433Z" level=info msg="Initializing buildkit"
# Aug 25 17:06:41 localhost dockerd[2349]: time="2026-08-25T17:06:41.334248241Z" level=info msg="Completed buildkit initialization"
# Aug 25 17:06:41 localhost dockerd[2349]: time="2026-08-25T17:06:41.341469637Z" level=info msg="Daemon has completed initialization"
# Aug 25 17:06:41 localhost dockerd[2349]: time="2026-08-25T17:06:41.341570938Z" level=info msg="API listen on /run/docker.sock"
# Aug 25 17:06:41 localhost systemd[1]: Started docker.service - Docker Application Container Engine.
Next, configure the UFW firewall to allow HTTP, HTTPS, and SSH traffic:
sudo ufw allow http
sudo ufw allow https
sudo ufw allow ssh
sudo ufw reload


sudo systemctl start ufw
sudo systemctl enable ufw
sudo ufw enable
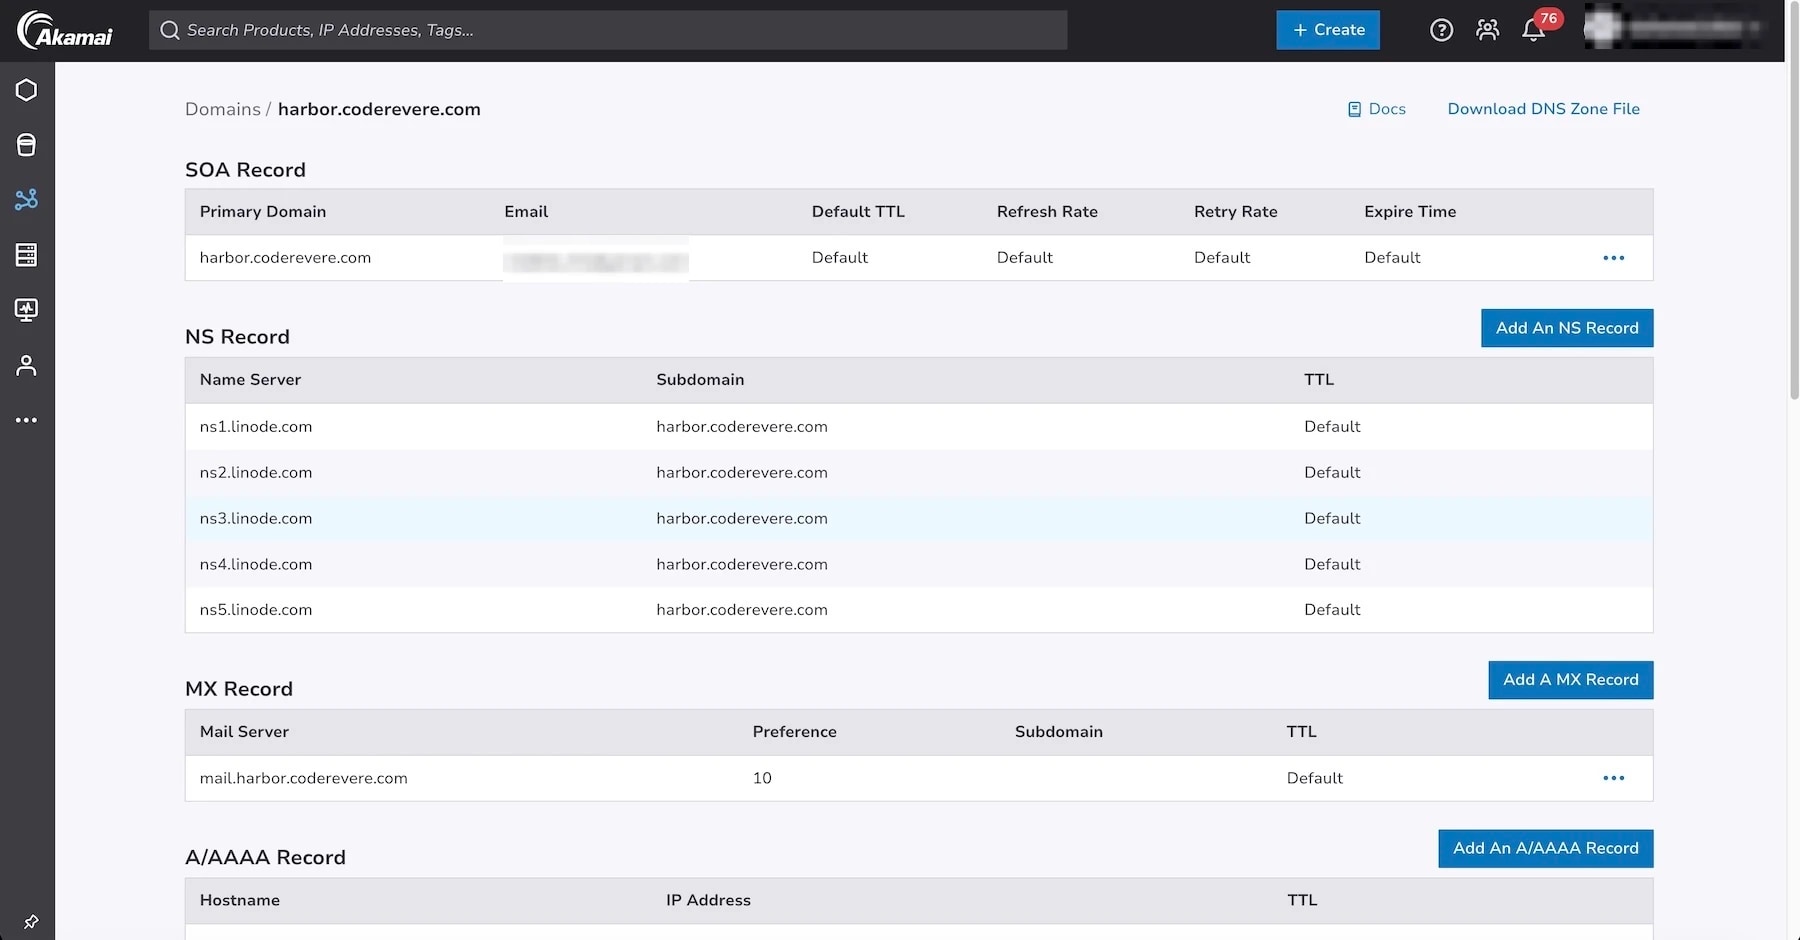
Now, let’s configure a domain and attach it to this VM:
With the domain pointed to your Linode, set up SSL certificates using Certbot:
Setup Certbot:
sudo snap install --classic certbot

sudo certbot certonly --standalone -d harbor.coderevere.com

# Successfully received certificate.
# Certificate is saved at: /etc/letsencrypt/live/harbor.coderevere.com/fullchain.pem
# Key is saved at:         /etc/letsencrypt/live/harbor.coderevere.com/privkey.pem
# This certificate expires on 2026-11-23.
# These files will be updated when the certificate renews.
# Certbot has set up a scheduled task to automatically renew this certificate in the background.

- - - - - - - - - - - - - - - - - - - - - - - - - - - - - - - - - - - - - - - -
# If you like Certbot, please consider supporting our work by:
#  * Donating to ISRG / Let's Encrypt:   https://letsencrypt.org/donate
#  * Donating to EFF:                    https://eff.org/donate-le
Next, download and install Harbor:
curl -s https://api.github.com/repos/goharbor/harbor/releases/latest \
| grep "browser_download_url.*harbor-offline-installer.*.tgz\"" \
| tail -n 1 \
| cut -d : -f 2,3 \
| tr -d \" \
| wget -O harbor-offline-installer.tgz -qi -

tar xzvf harbor-offline-installer.tgz

cd harbor
cp harbor.yml.tmpl harbor.yml
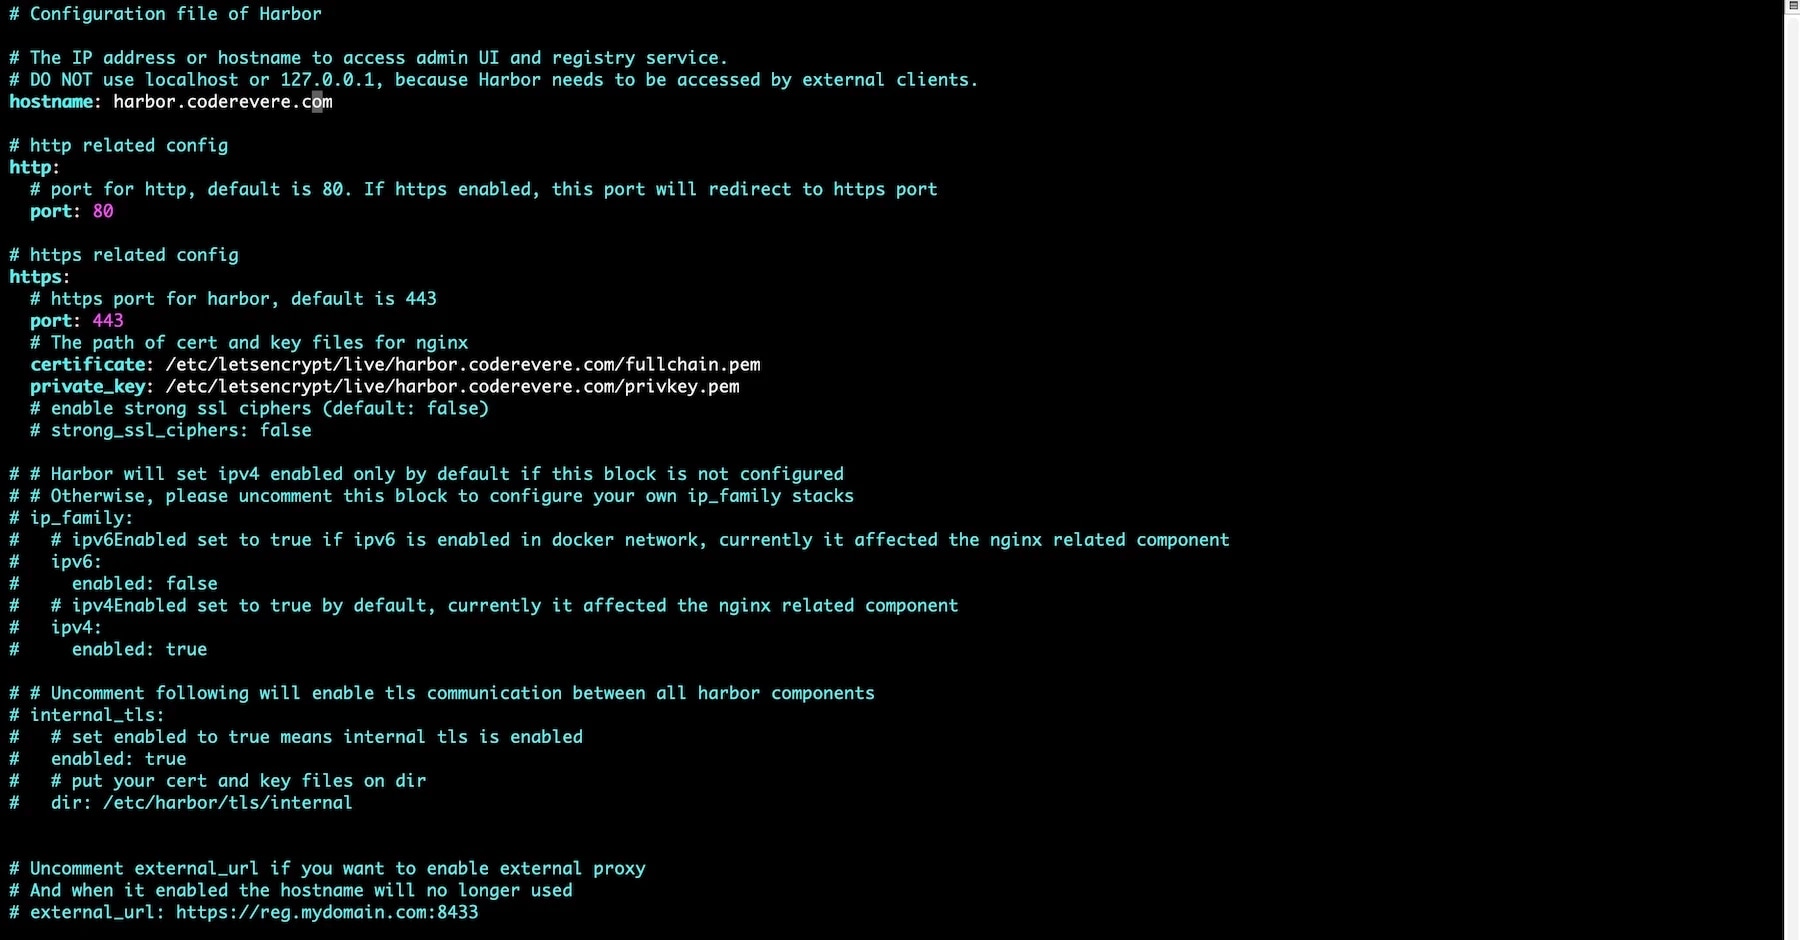
Edit the harbor.yml file to include your hostname and the paths to your newly generated Let’s Encrypt certificates. Crucially, make sure to change the default admin and database passwords, as leaving them unchanged leaves your registry highly vulnerable to attacks.
sudo ./install.sh

#[Step 0]: checking if docker is installed ...

# Note: docker version: 29.7.2

# [Step 1]: checking docker-compose is installed ...

# Note: Docker Compose version v5.5.0

# [Step 2]: loading Harbor images ...
# Loaded image: goharbor/harbor-exporter:v2.15.2
# Loaded image: goharbor/harbor-portal:v2.15.2
# Loaded image: goharbor/harbor-db:v2.15.2
# Loaded image: goharbor/harbor-registryctl:v2.15.2
# Loaded image: goharbor/nginx-photon:v2.15.2
# Loaded image: goharbor/registry-photon:v2.15.2
# Loaded image: goharbor/harbor-core:v2.15.2
# Loaded image: goharbor/harbor-jobservice:v2.15.2
# Loaded image: goharbor/valkey-photon:v2.15.2
# Loaded image: goharbor/prepare:v2.15.2
# Loaded image: goharbor/harbor-log:v2.15.2
# Loaded image: goharbor/trivy-adapter-photon:v2.15.2


# [Step 3]: preparing environment ...

# [Step 4]: preparing harbor configs ...
# prepare base dir is set to /root/harbor
# Generated configuration file: /config/portal/nginx.conf
# Generated configuration file: /config/log/logrotate.conf
# Generated configuration file: /config/log/rsyslog_docker.conf
# Generated configuration file: /config/nginx/nginx.conf
# Generated configuration file: /config/core/env
# Generated configuration file: /config/core/app.conf
# Generated configuration file: /config/registry/config.yml
# Generated configuration file: /config/registryctl/env
# Generated configuration file: /config/registryctl/config.yml
# Generated configuration file: /config/db/env
# Generated configuration file: /config/jobservice/env
# Generated configuration file: /config/jobservice/config.yml
# copy /data/secret/tls/harbor_internal_ca.crt to shared trust ca dir as name harbor_internal_ca.crt ...
# ca file /hostfs/data/secret/tls/harbor_internal_ca.crt is not exist
# copy  to shared trust ca dir as name storage_ca_bundle.crt ...
# copy None to shared trust ca dir as name redis_tls_ca.crt ...
# Generated and saved secret to file: /data/secret/keys/secretkey
# Successfully called func: create_root_cert
# Generated configuration file: /compose_location/docker-compose.yml
# Clean up the input dir


# Note: stopping existing Harbor instance ...


# [Step 5]: starting Harbor ...
# [+] up 10/10
#  ✔ Network harbor_harbor       Created                                                                                                                               0.0s
#  ✔ Container harbor-log        Started                                                                                                                               0.3s
#  ✔ Container registryctl       Started                                                                                                                               0.6s
#  ✔ Container harbor-db         Started                                                                                                                               0.6s
#  ✔ Container redis             Started                                                                                                                               0.6s
#  ✔ Container harbor-portal     Started                                                                                                                               0.6s
#  ✔ Container registry          Started                                                                                                                               0.5s
#  ✔ Container harbor-core       Started                                                                                                                               0.7s
#  ✔ Container nginx             Started                                                                                                                               0.9s
#  ✔ Container harbor-jobservice Started                                                                                                                               0.9s
# ✔ ----Harbor has been installed and started successfully.----
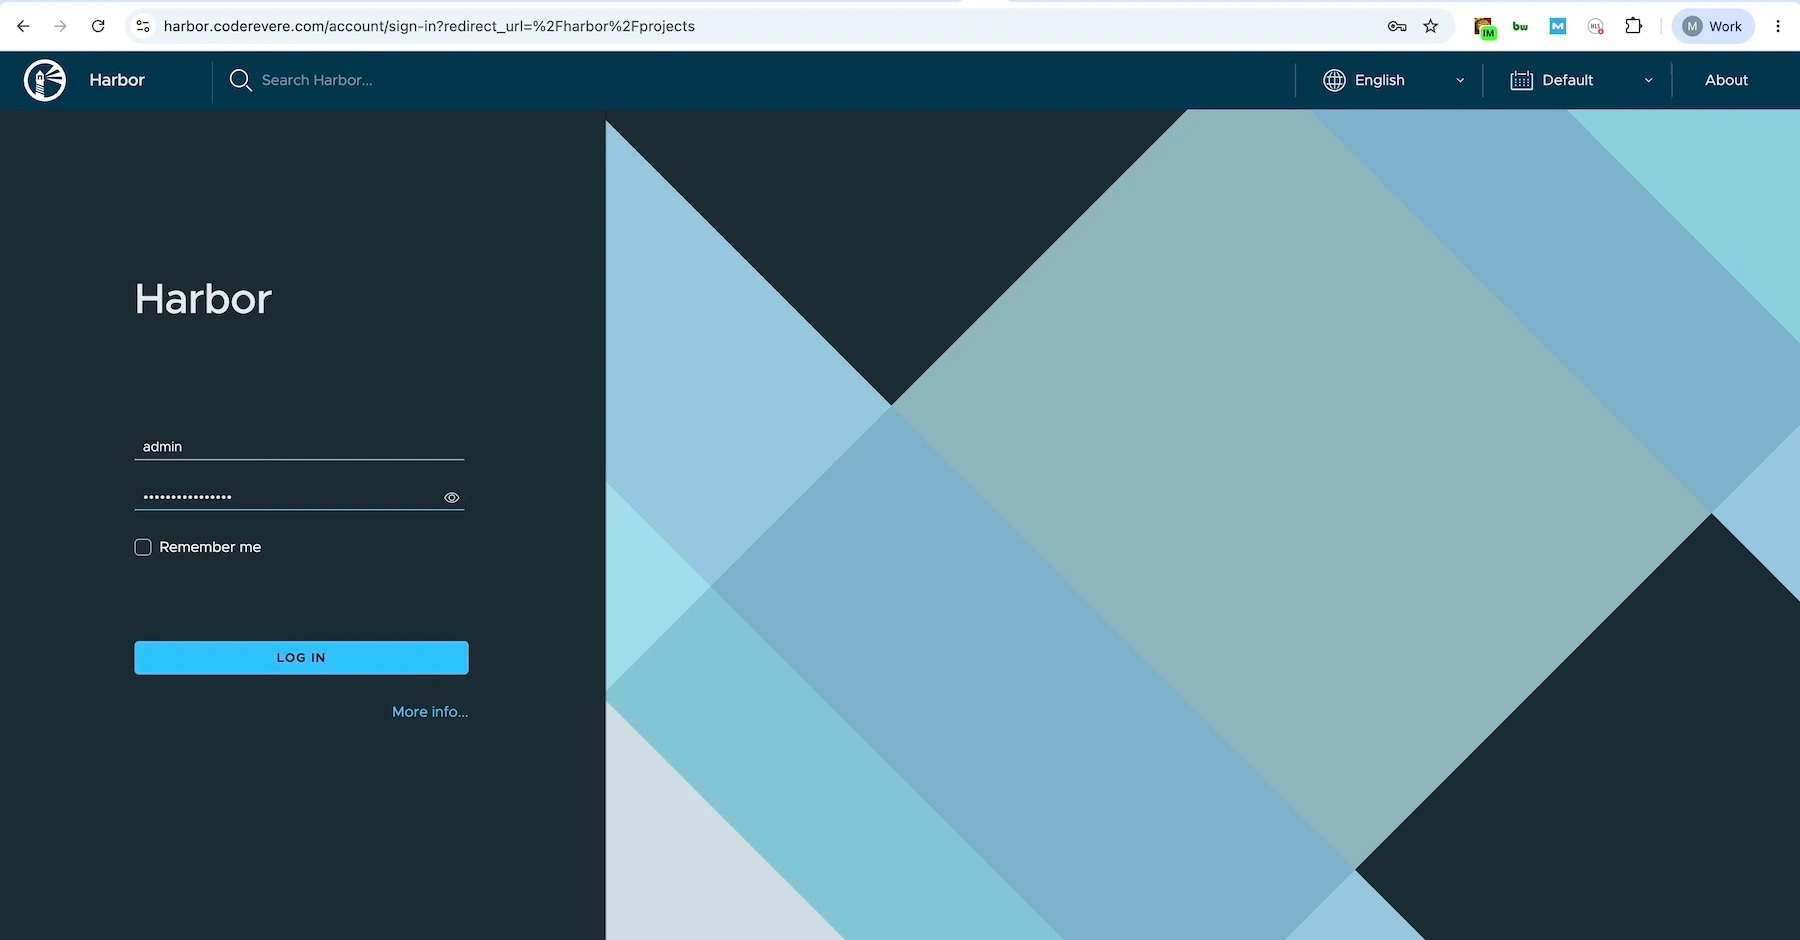
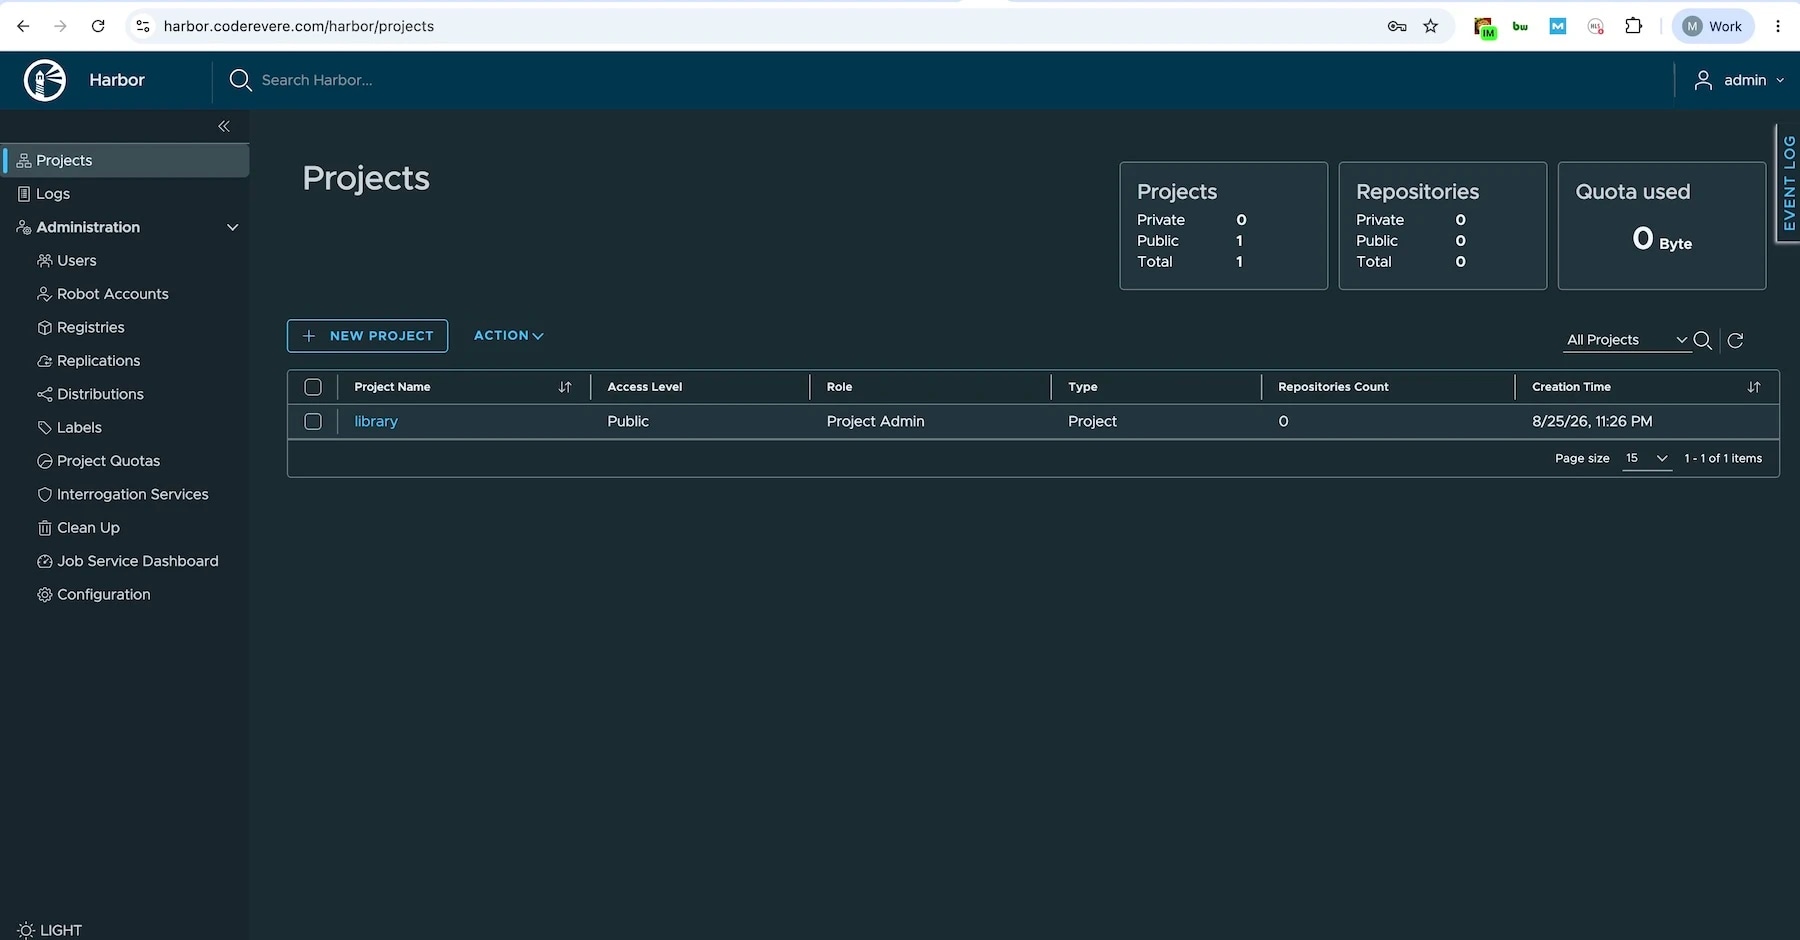
Once the installation completes, launch the Harbor registry by navigating to your domain in a web browser:
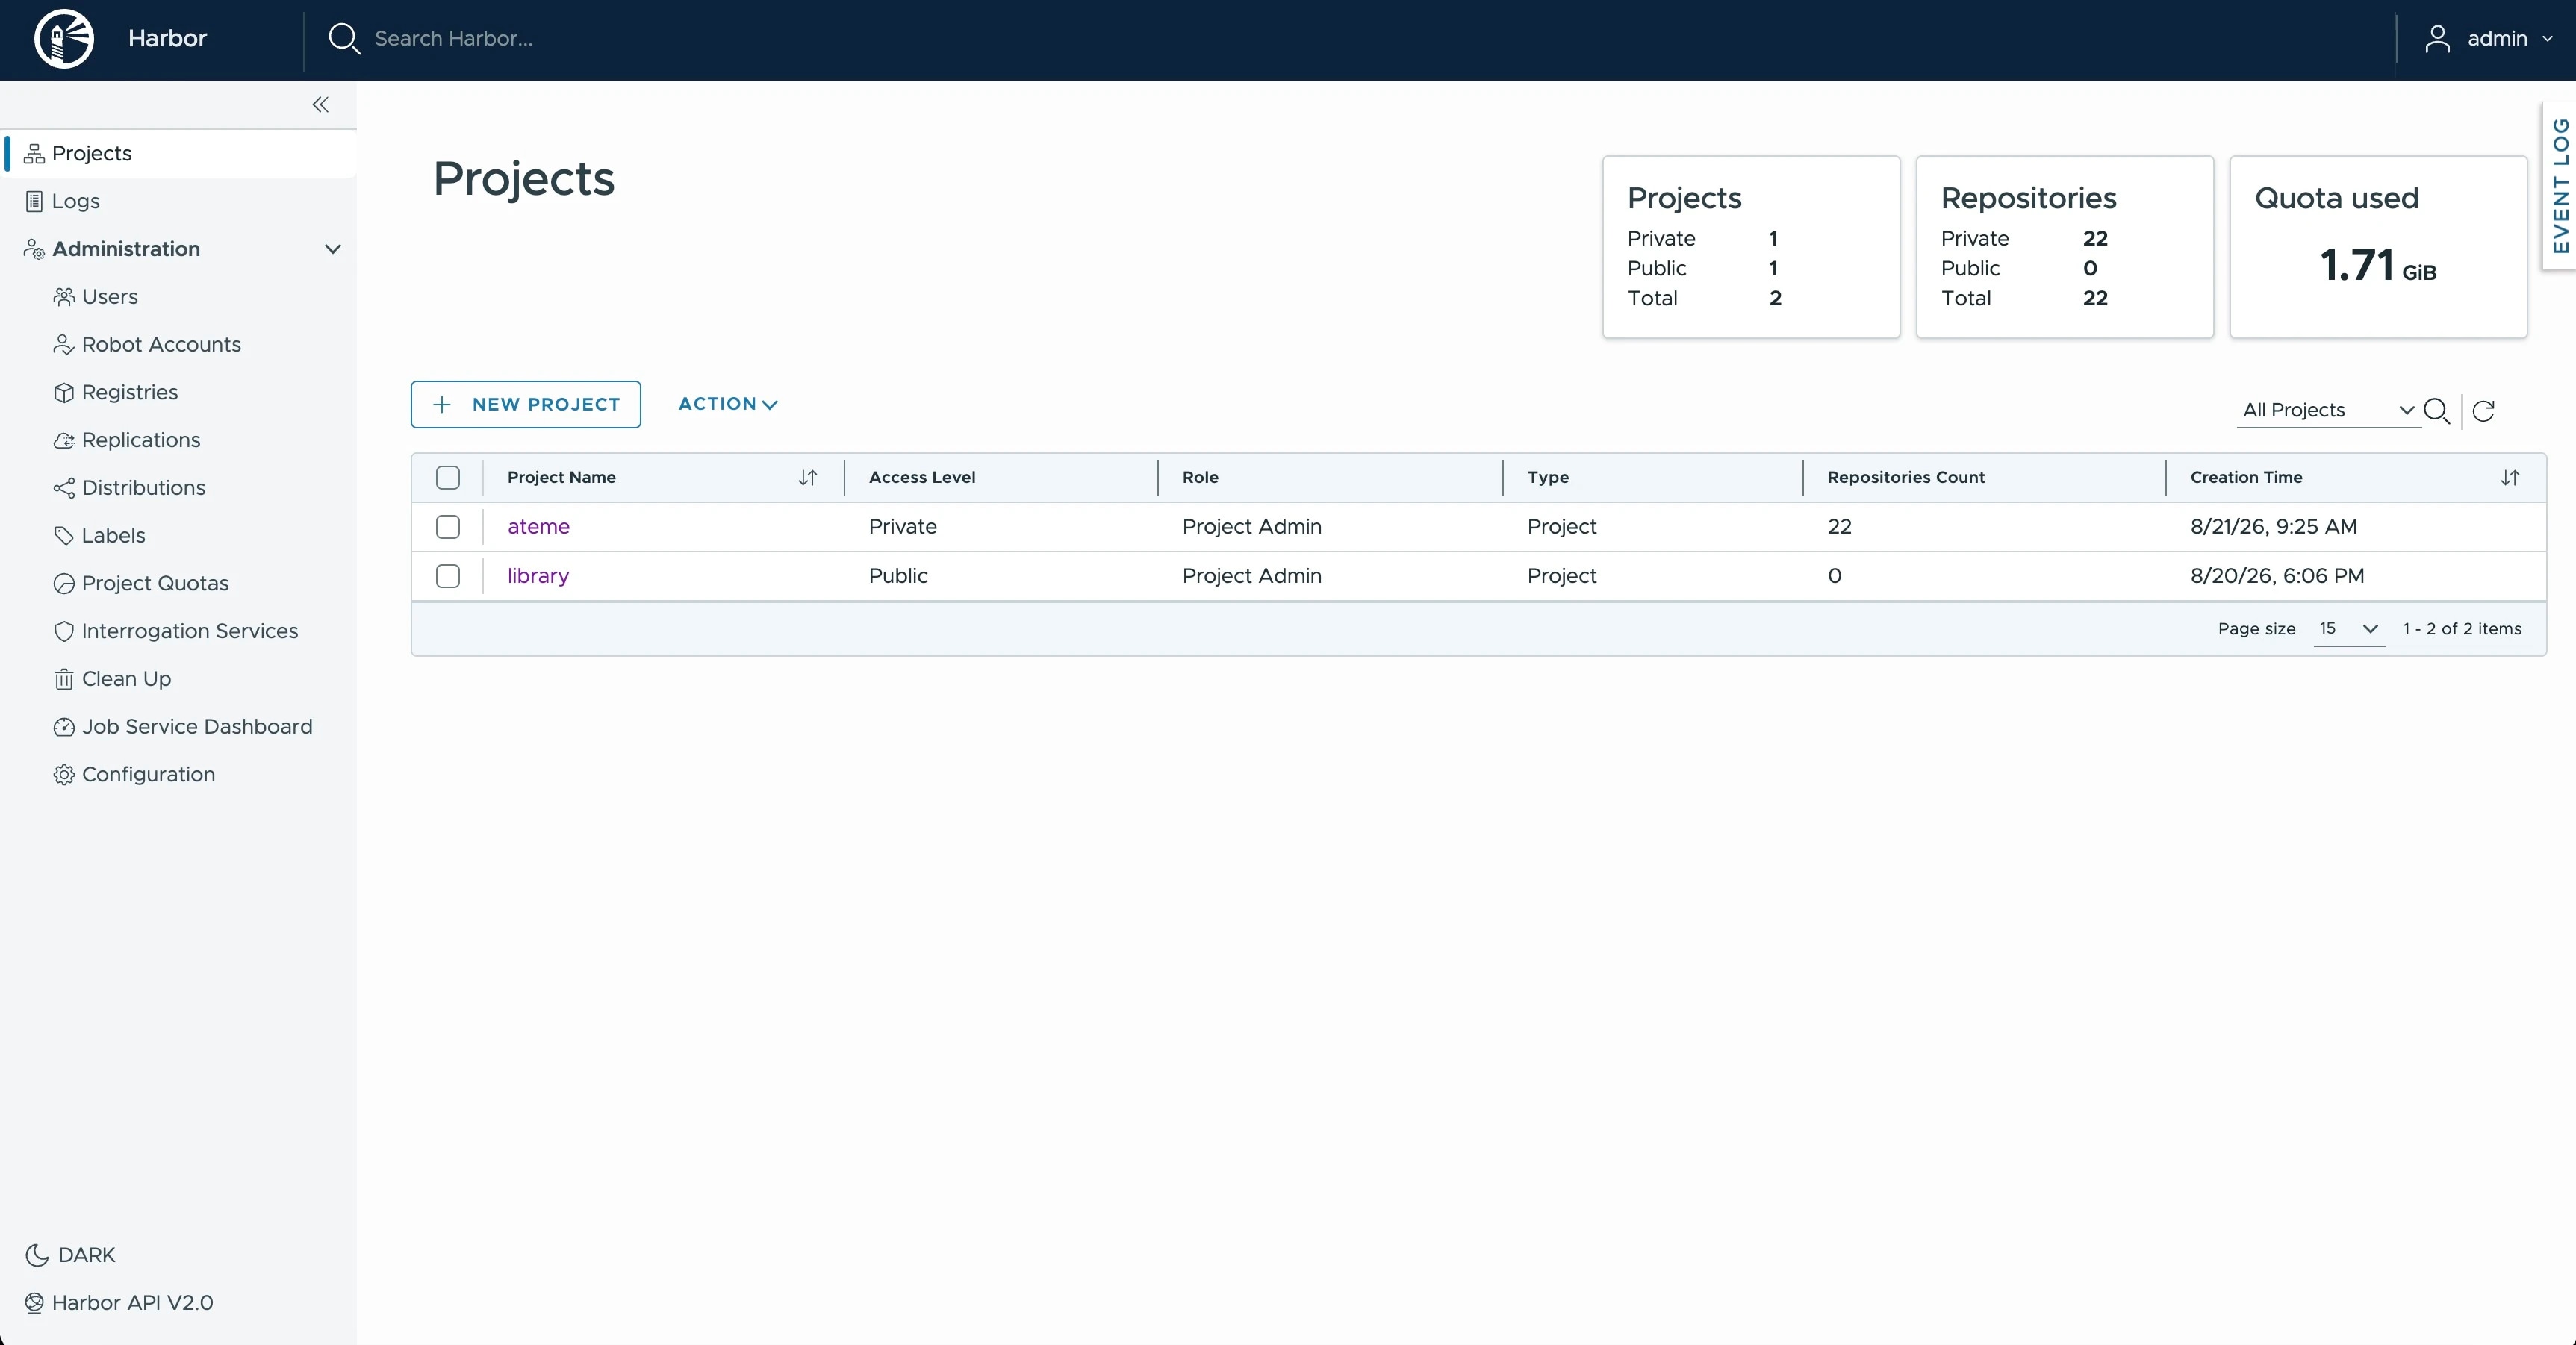
You can now use Ateme’s PMF application to push images to your newly hosted Akamai Harbor registry. The snapshot below confirms a successful push/upload.
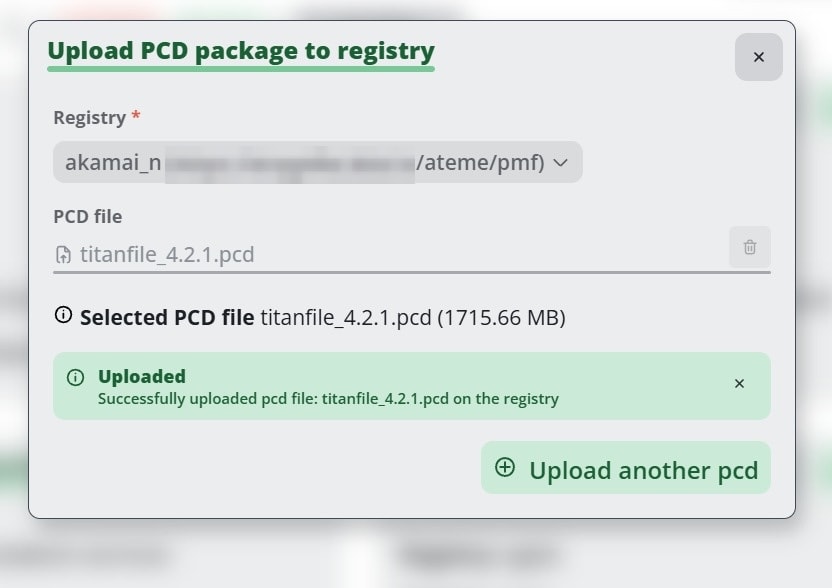
A quick troubleshooting note: We initially ran into an error when trying to upload images directly to the /ateme path. After running a log analysis, we discovered that Harbor strictly requires a two-level path format: project-name/image-name. Once we updated the path format, the upload succeeded without issue.
This brings us to the end of this post. I hope this guide helps you easily deploy your own container registry on Linode. Thank you for your time!