Automated Face Cropping with Python and Face-Crop-Plus
Learn how to use the face-crop-plus CLI to automatically detect, align, and batch-crop faces from your image datasets
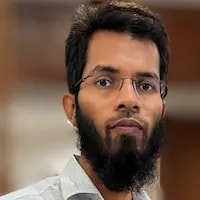
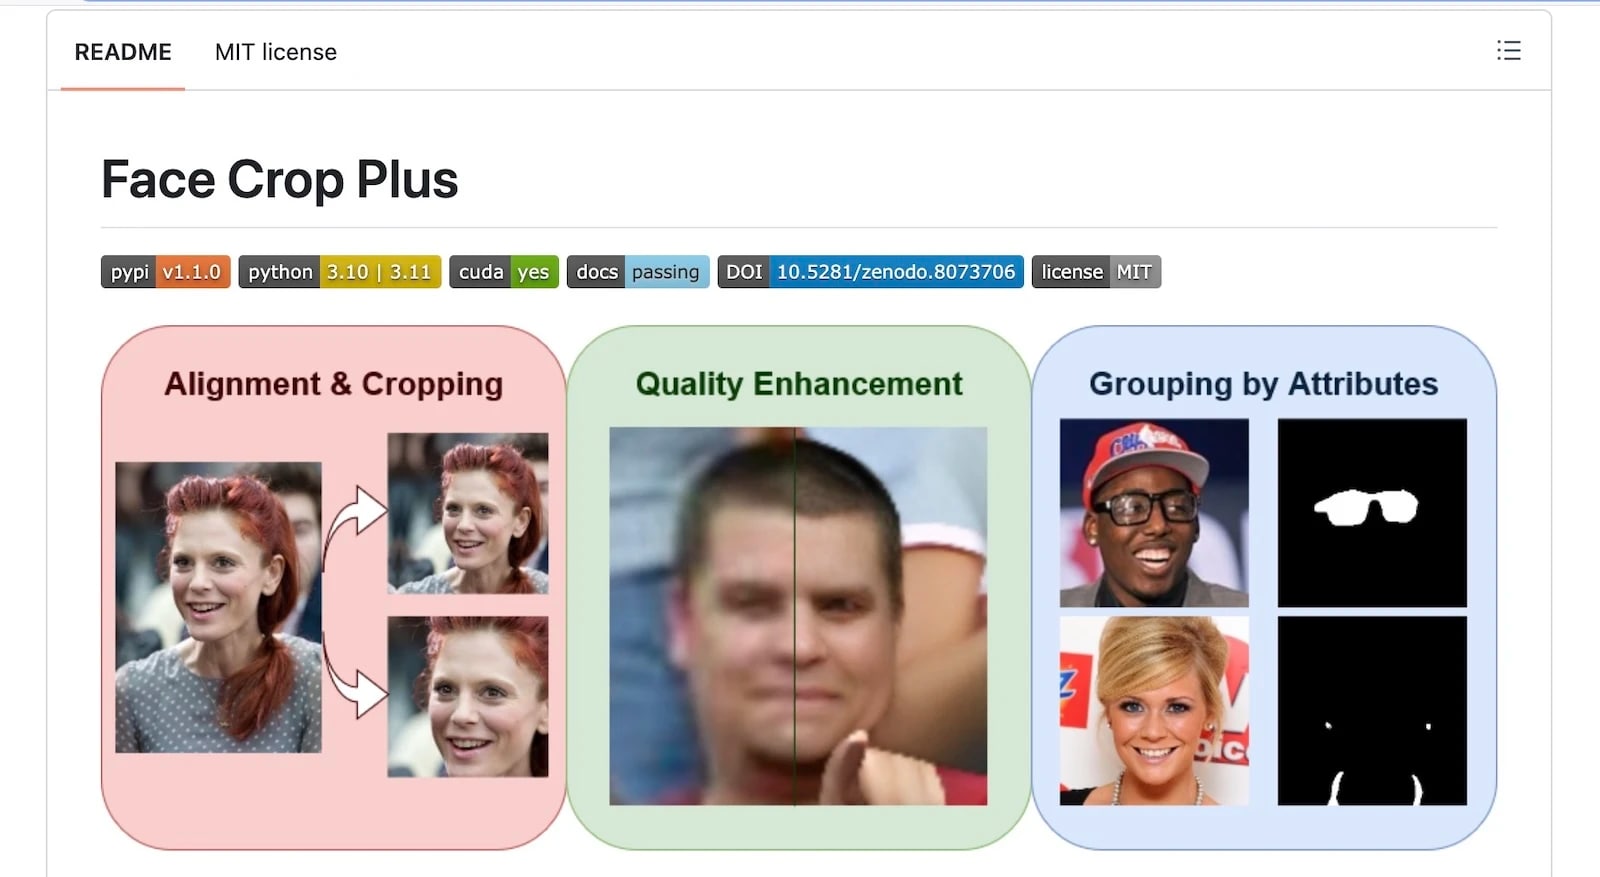
Face Crop: Introduction
Automated face cropping is an incredibly valuable feature for businesses that process large volumes of image data. Face cropping is an essential component to several key outcomes, highlighting a few critical ones below:
- Identification/KYC
- Machine Learning/AI Training
- Profile Pictures - This could be a cropped face at a certain standardized size for a company directory or a thumbnail of your favorite celebrity or sports icon for respective bios on a website, etc.
- Security - Surveillance systems may crop faces from a live feed to run them against a database for identification.
- Augmented Reality
Installation
There are many libraries that allow you to achieve face crops for your image pipeline. The one that I use and strongly recommend is face-crop-plus, a Python command-line tool for face cropping, face enhancement, and face parsing.
Image preprocessing package for automatic face alignment and cropping with additional features. It provides the following functionality:
Face cropping - face alignment and center-cropping using facial landmarks. Landmarks can be automatically predicted or, if they are already know, can be supplied through a separate file. It is possible to specify face factor, i.e., face area relative to the cropped image, and face extraction strategy, e.g., all faces or largest face per image.
Face enhancement - face image quality enhancement. If images are blurry or contain many small faces, quality enhancement model can be used to make the images clearer. Small faces in the image are automatically checked and enhanced if desired.
Face parsing - face attribute parsing and cropped image grouping to sub-directories. Face images can be grouped according to some facial attributes or some combination, such as glasses, earrings and necklace, hats. It is also possible to generate masks for facial attributes or some combination of them, for instance, glasses, nose, nose and eyes.
Note: each feature can be used separately, e.g., if you just need to enhance the quality of blurry photos, or if you just need to generate attribute masks (like hats, glasses, face parts).
Link for details: https://github.com/mantasu/face-crop-plus
I use macOS. If you are on a Mac as well, the commands below will help you set it up:
python3 -m venv venv
source venv/bin/activate
pip install face-crop-plus
mkdir input_faces
mkdir output_faces
As you can see from the commands above, we not only installed the Python package but also configured an input and output folder to bulk process the images supplied in the input folder.
The Input
Image 1: A legendary shot from the movie Heat (1995) featuring an intense confrontation. It marked the first time these two legends, perhaps the greatest actors of their era, shared the screen together.
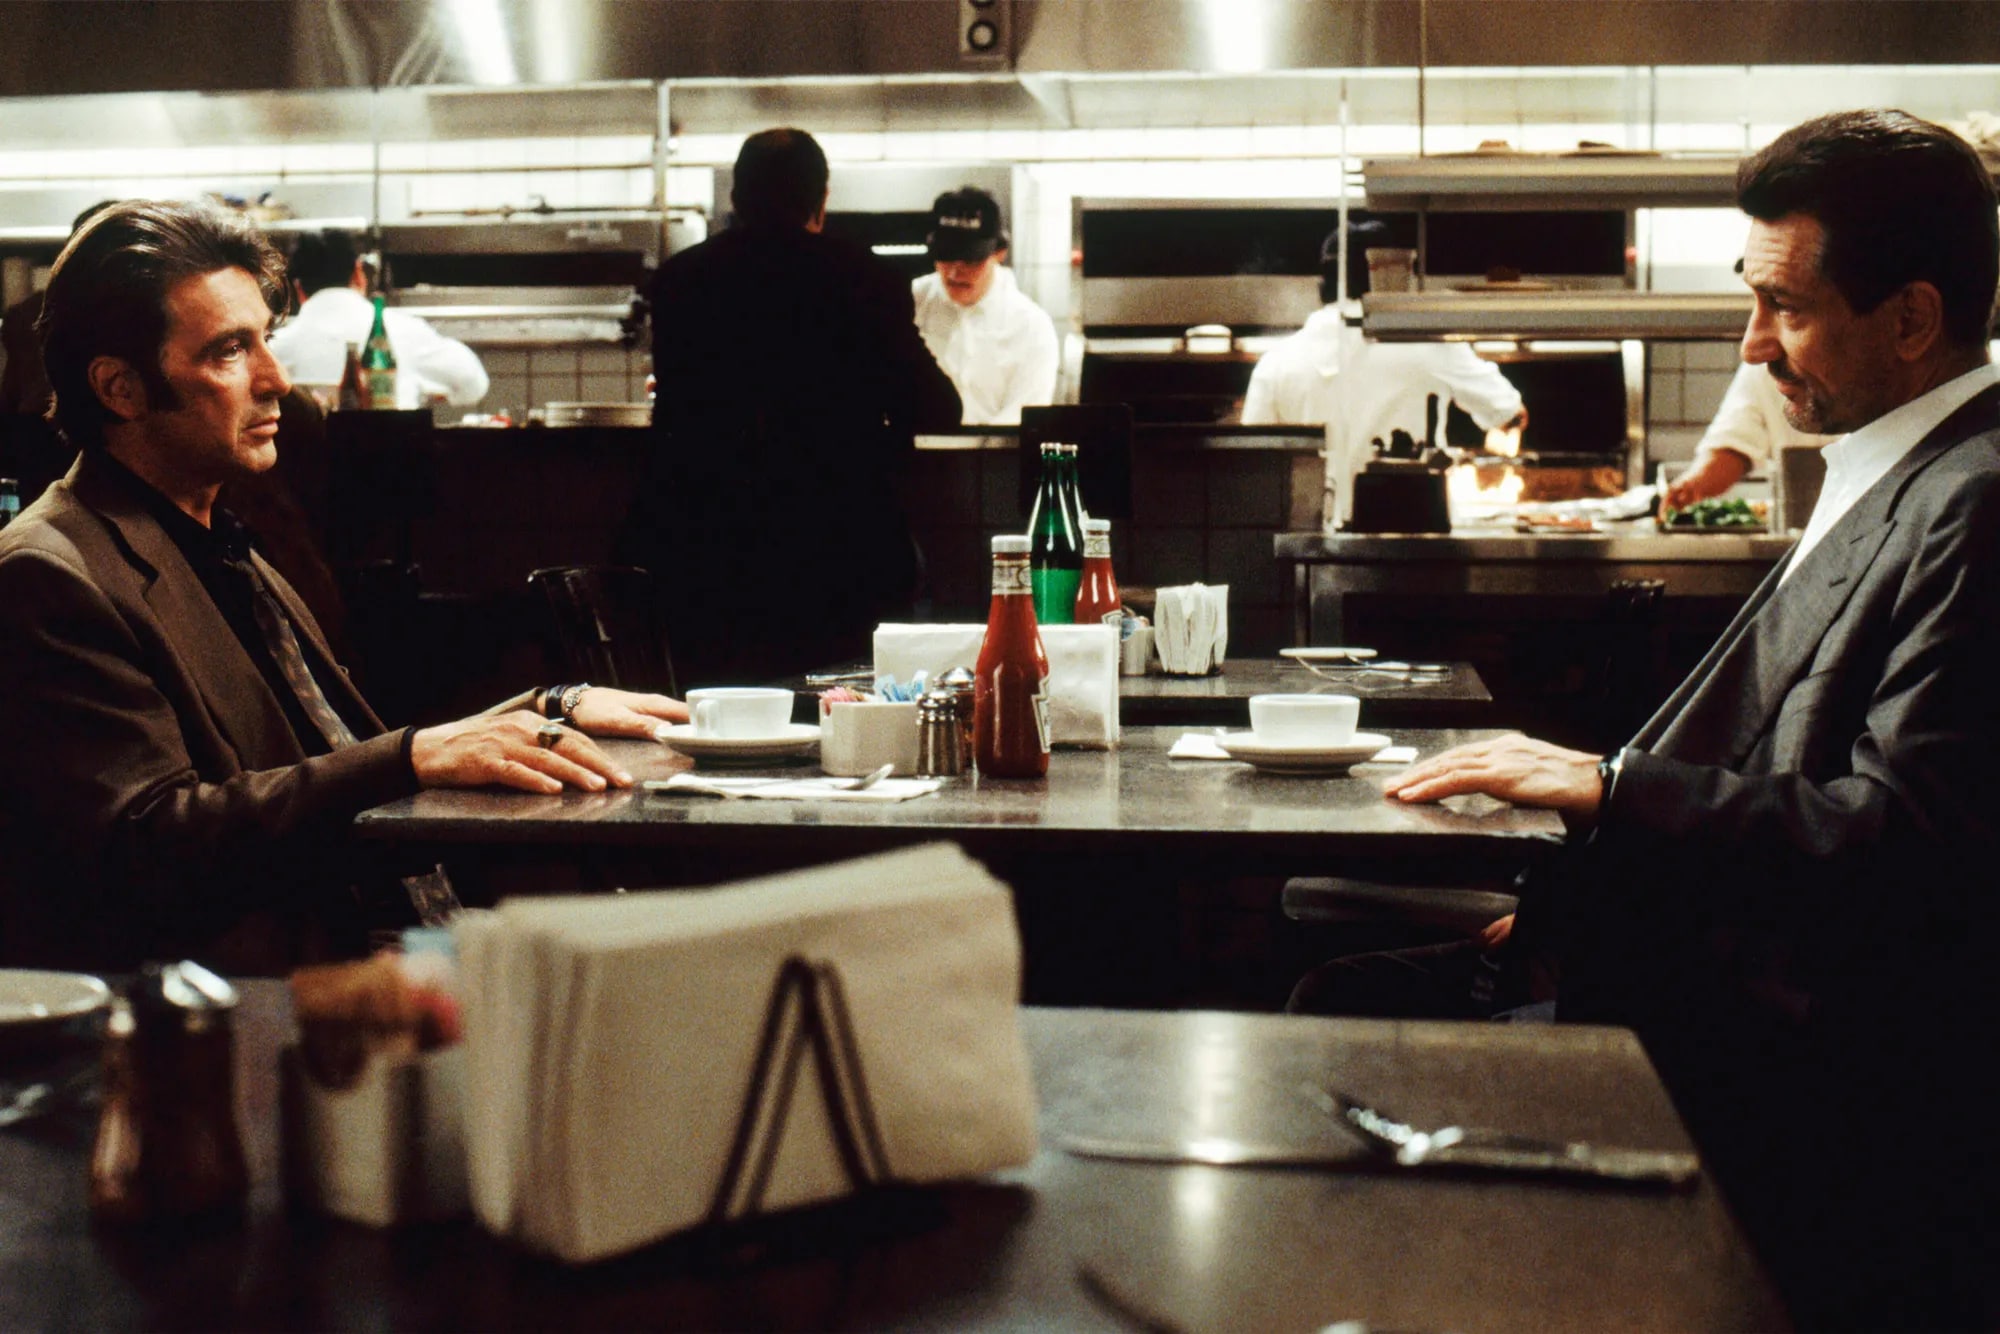
Image 2: Khabib, after beating his fierce rival, Conor. Perhaps the biggest UFC fight ever and may remain so for a very long time.
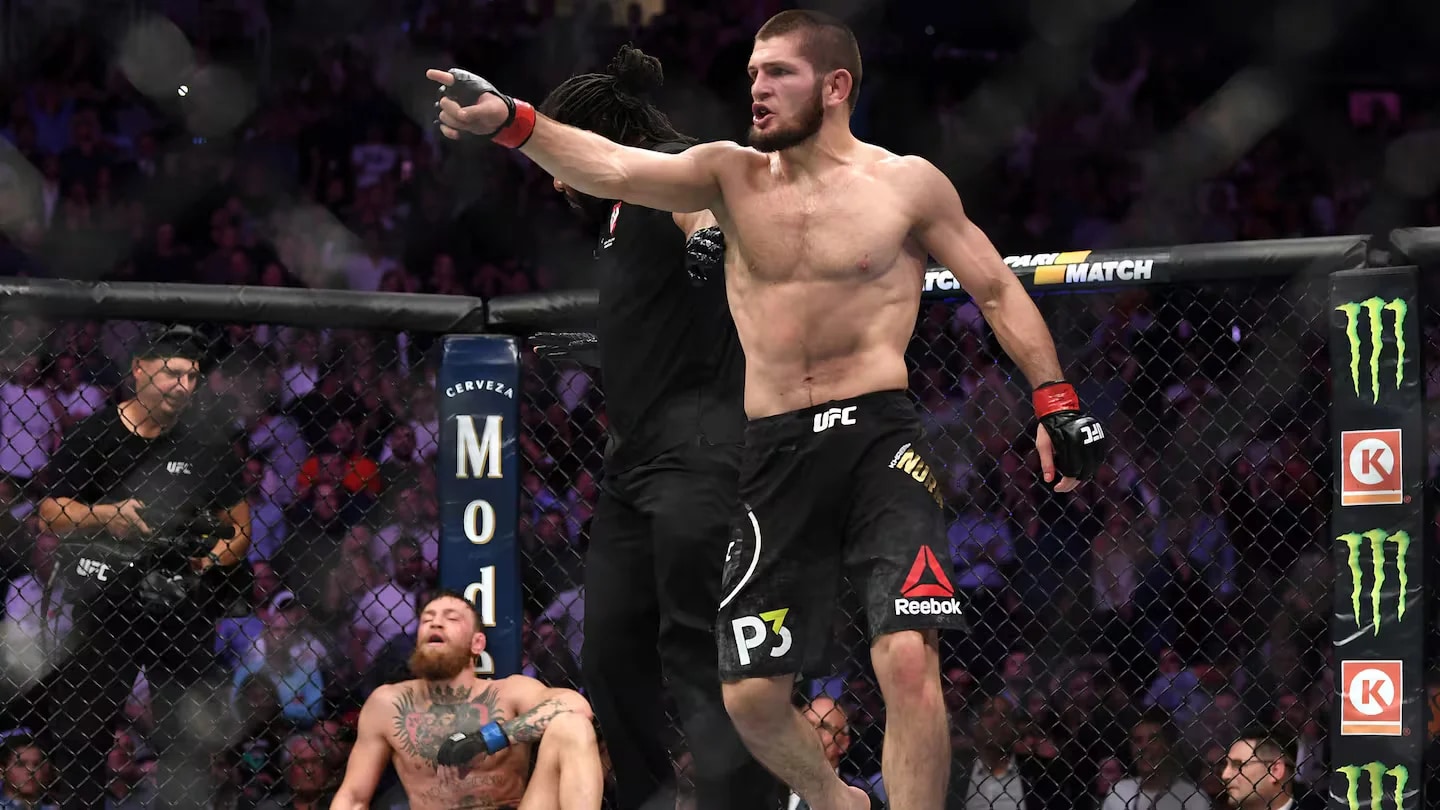
Image 3: Leo (perhaps the Greatest of All Time).
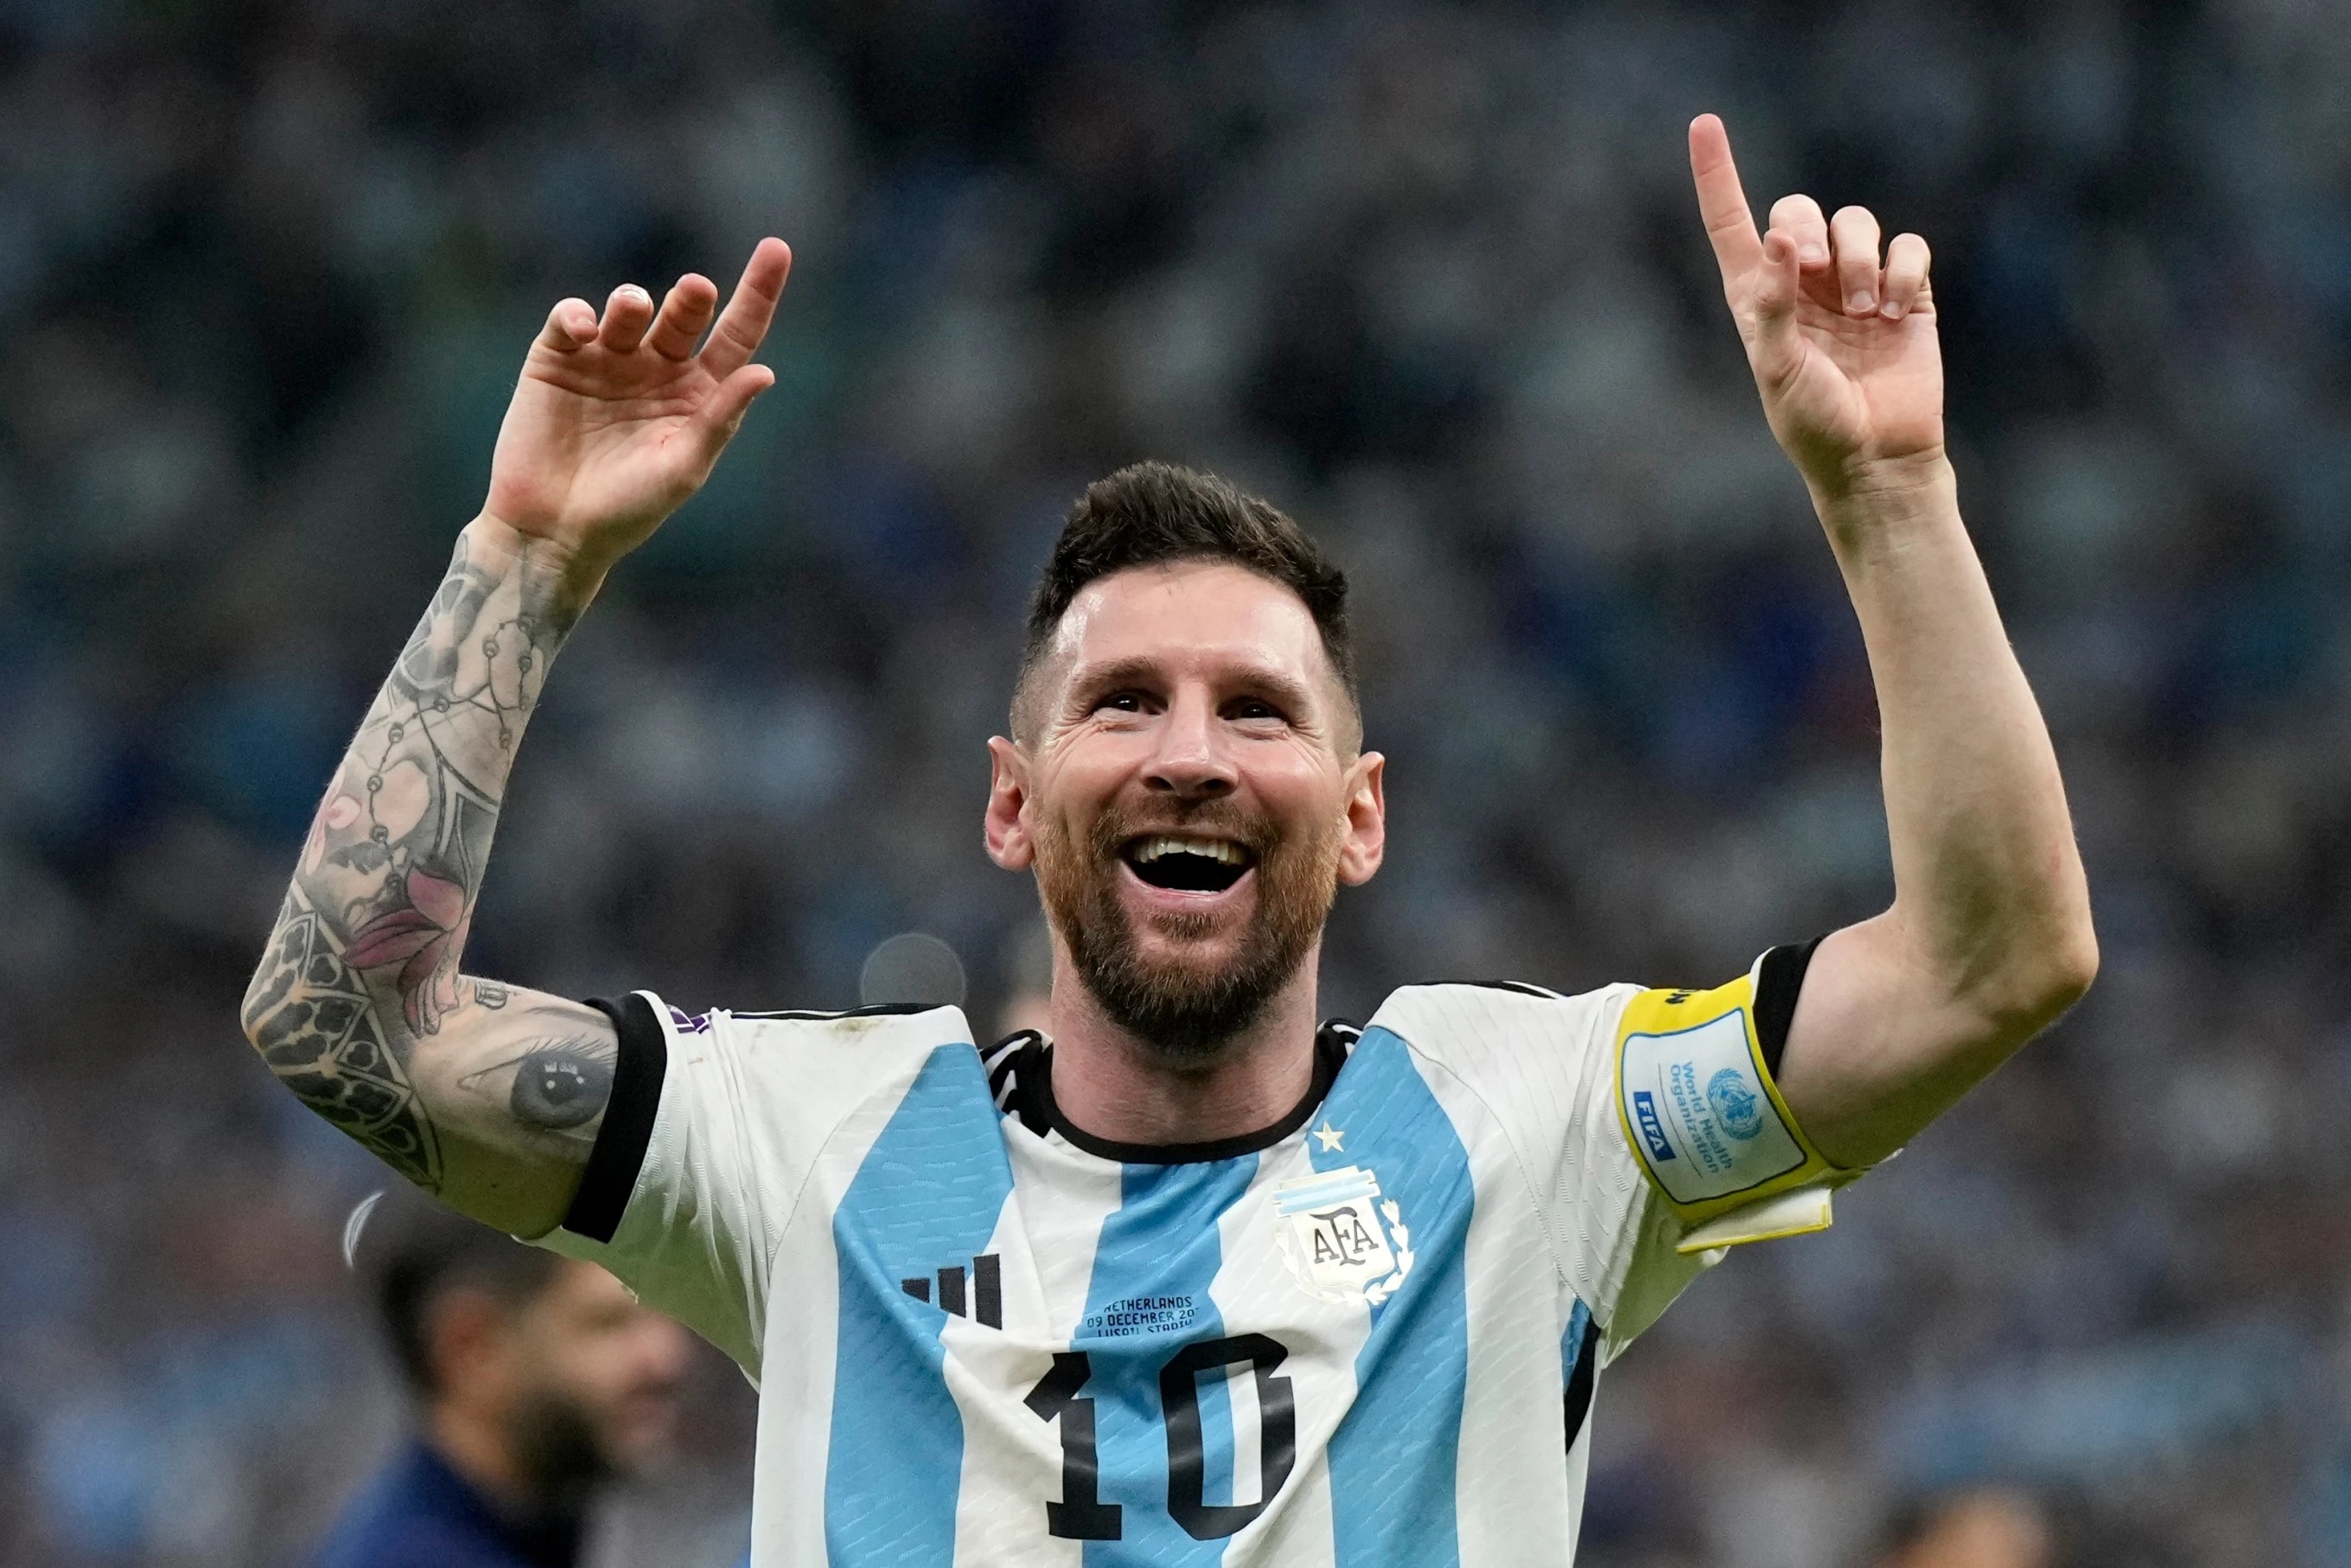
Please Note: All 3 images have some visible faces in the background. It will be interesting to see the output.
Face Crop
Attempt 1
face-crop-plus -i input_faces -o output_faces --output-size 500 350 --face-factor 0.75 --device cpu
Processing: 100%|█████████████████████████████████████████████████████████████████████████████████████████████████████████████████████████| 1/1 [00:01<00:00,  1.42s/it]
Output:
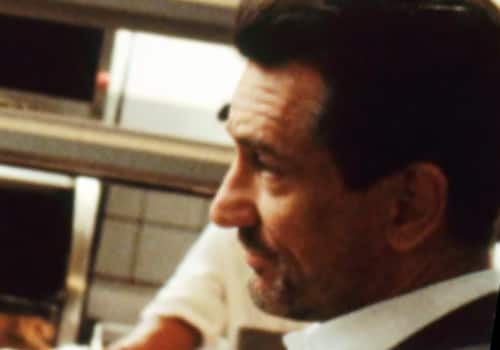
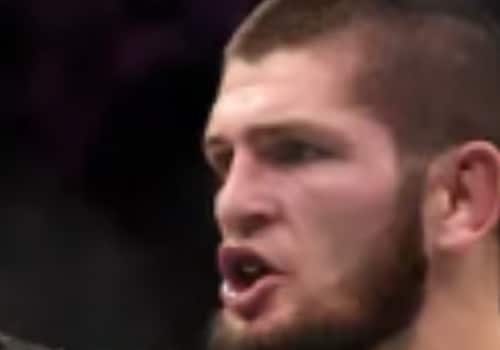
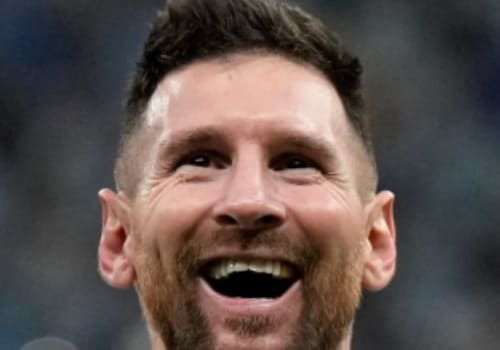
Amazing output. Interesting to see the first image go in favor of De Niro considering both faces occupied a prominent position in the image.
Assuming De Niro’s face had the highest confidence score, let us confirm the same by running the below commands:
face-crop-plus -i input_faces -o output_faces --output-size 500 300 --face-factor 0.75 --device cpu --strategy best
Processing: 100%|█████████████████████████████████████████████████████████████████████████████████████████████████████████████████████████| 1/1 [00:01<00:00,  1.86s/it]
face-crop-plus -i input_faces -o output_faces --output-size 500 300 --face-factor 0.75 --device cpu --strategy largest
Processing: 100%|█████████████████████████████████████████████████████████████████████████████████████████████████████████████████████████| 1/1 [00:01<00:00,  1.63s/it]
Output remains the same:
This confirms my theory. The documentation suggests this tool will default to the largest strategy if not manually supplied as an input parameter. The best parameter outputs the same, as De Niro’s face gets the best confidence score here. Let us now try the all parameter to crop all possible faces from these images.
face-crop-plus -i input_faces -o output_faces --output-size 500 300 --face-factor 0.75 --device cpu --strategy all
Processing: 100%|█████████████████████████████████████████████████████████████████████████████████████████████████████████████████████████| 1/1 [00:03<00:00,  3.61s/it]
The animation below captures the output; the tool now picked up all faces including the faces in the background.

Optimization
I am not too convinced with the minimal/no padding on the corners, which is especially visible with Messi’s face being cropped at the bottom. Let us optimize the face factor parameter to fix this.
face_factor - the fraction of the face area relative to the output image. The value is between 0 and 1 and, the larger the value, the larger the face is in the output image.
face-crop-plus -i input_faces -o output_faces --output-size 500 300 --face-factor 0.50 --device cpu --strategy largest
Processing: 100%|█████████████████████████████████████████████████████████████████████████████████████████████████████████████████████████| 1/1 [00:01<00:00,  1.87s/it]
Output:
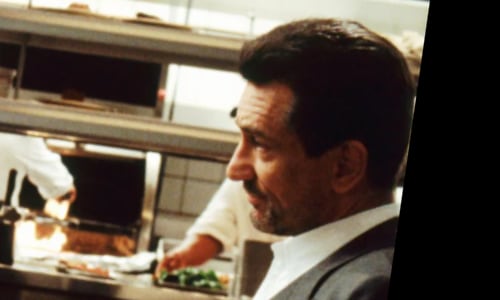
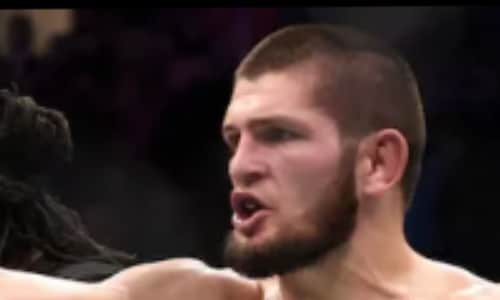
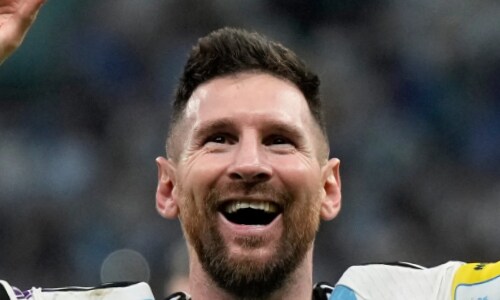
This looks amazing. Thus, you can play around with these parameters to achieve the desired result.
Quality Enhancement
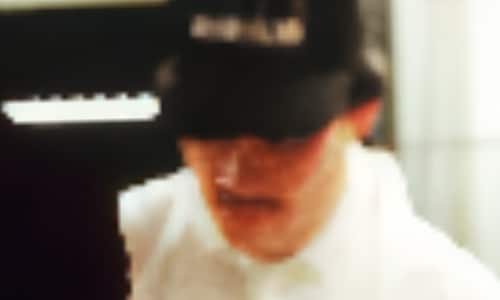
There are a few background faces that aren’t quite as clear as we’d like them to be. For this test, I’ll use the cook in the background as an example.
Default output:
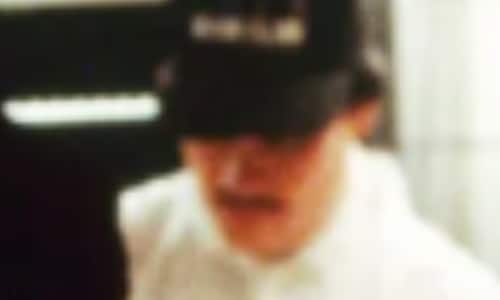
I initially tried running the command below, but my Apple Silicon MacBook appeared to completely freeze and couldn’t complete the operation (likely due to the CPU struggling with the heavy generative processing).
face-crop-plus -i input_faces -o output_faces --output-size 500 300 --face-factor 0.50 --device cpu --strategy all -et 0.02
Processing:   0%|                                                                                                                                 | 0/1 [00:00<?, ?it/s]
After doing some digging to find out why, I learned that because face-crop-plus is built on top of PyTorch, utilizing Apple’s hardware acceleration is a much better approach.
Official docs:
This package enables an interface for accessing MPS (Metal Performance Shaders) backend in Python. Metal is Apple’s API for programming metal GPU (graphics processor unit). Using MPS means that increased performance can be achieved, by running work on the metal GPU(s)
https://pytorch.org/docs/stable/tensor_attributes.html https://pytorch.org/docs/stable/notes/mps.html
face-crop-plus -i input_faces -o output_faces --output-size 500 300 --face-factor 0.50 --device mps --strategy all -et 0.02
Processing: 100%|█████████████████████████████████████████████████████████████████████████████████████████████████████████████████████████| 1/1 [00:11<00:00, 11.03s/it]
face-crop-plus -i input_faces -o output_faces --output-size 500 300 --face-factor 0.50 --device mps --strategy all -et 0.5
Processing: 100%|█████████████████████████████████████████████████████████████████████████████████████████████████████████████████████████| 1/1 [00:09<00:00,  9.32s/it]
face-crop-plus -i input_faces -o output_faces --output-size 500 300 --face-factor 0.50 --device mps --strategy all -et 0.02
Processing: 100%|█████████████████████████████████████████████████████████████████████████████████████████████████████████████████████████| 1/1 [00:09<00:00,  9.70s/it]
face-crop-plus -i input_faces -o output_faces --output-size 500 300 --face-factor 0.50 --device mps --strategy all -et -0.5
Processing: 100%|█████████████████████████████████████████████████████████████████████████████████████████████████████████████████████████| 1/1 [00:00<00:00,  1.01it/s]
face-crop-plus -i input_faces -o output_faces --output-size 500 300 --face-factor 0.50 --device mps --strategy all -et -0.01
Processing: 100%|█████████████████████████████████████████████████████████████████████████████████████████████████████████████████████████| 1/1 [00:00<00:00,  1.04it/s]
face-crop-plus -i input_faces -o output_faces --output-size 500 300 --face-factor 0.50 --device mps --strategy all -et 0.01
Processing: 100%|█████████████████████████████████████████████████████████████████████████████████████████████████████████████████████████| 1/1 [00:09<00:00,  9.65s/it]
face-crop-plus -i input_faces -o output_faces --output-size 500 300 --face-factor 0.50 --device mps --strategy all -et -0.1
Processing: 100%|█████████████████████████████████████████████████████████████████████████████████████████████████████████████████████████| 1/1 [00:01<00:00,  1.00s/it]
face-crop-plus -i input_faces -o output_faces --output-size 500 300 --face-factor 0.50 --device mps --strategy all -et 0.02
Processing: 100%|█████████████████████████████████████████████████████████████████████████████████████████████████████████████████████████| 1/1 [00:09<00:00,  9.15s/it]
I’m sharing the final output below, which I believe is a bit of a mixed bag. The algorithm definitely smooths out the facial features to make the cook appear a bit clearer, but the model seems to be creating aggressive blockiness on non-facial components of the image.
This brings us to the end of this post. Thank you for your time.